Body Fittings
It’s
currently early August 2024. Over four
and a half years since I took delivery of the car. The last year has pretty
much been a write-off due to a number of issues. I won’t bore you with the details,
but despite my continued enthusiasm, I was physically unable to do a great
deal. So instead of ‘not doing a great
deal’, I did nothing.
So here we
are, I’ve started to get some smaller tasks started and getting back into the
swing again. The body looks great now in
it’s new paint, so next
logical step is to fit all of the body furniture. Lights, chrome, handles, door surrounds, etc.
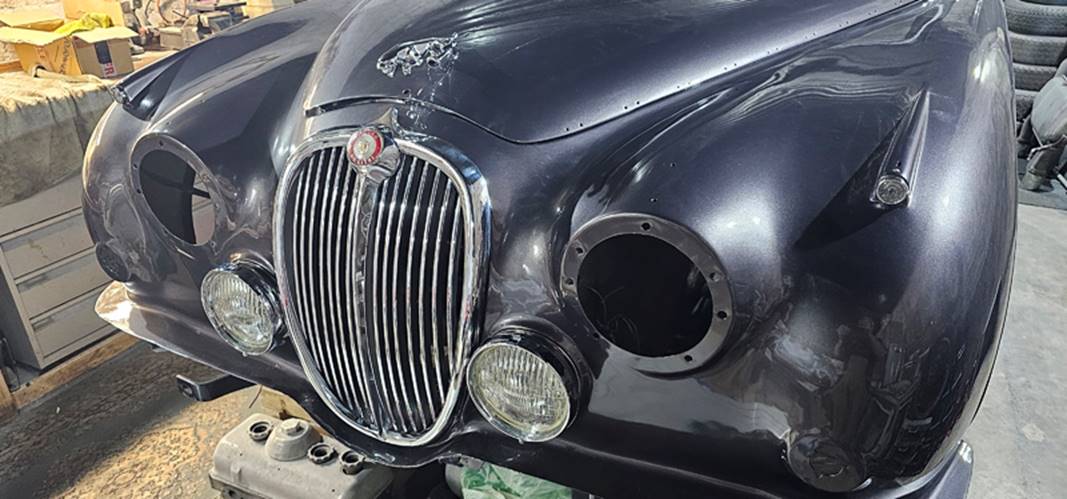
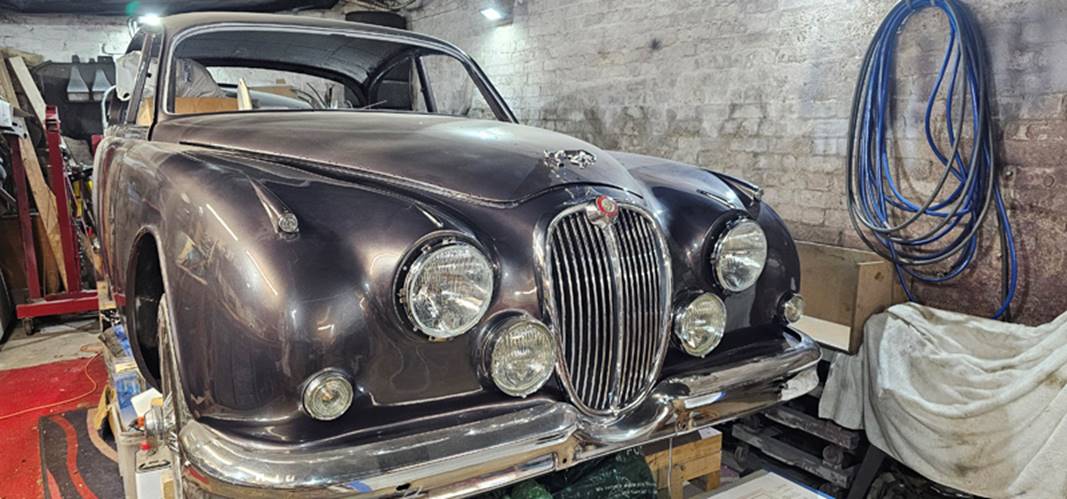
First up was
of course the Jaguar Leaper on the bonnet.
I had bought this at the beginning of the restoration as a motivational
piece. I’ve waited patiently and now it sits proudly at the front of the
bonnet. Next the grille and fog-rangers and side-lights. I didn’t take any
progress photos, but here’s the result.
Here you can
see the wiring to the headlights. I used
a plastic wrap to protect the loom, but I may use some additional protection to
the under-wing parts as this will get the most abuse from road debris.
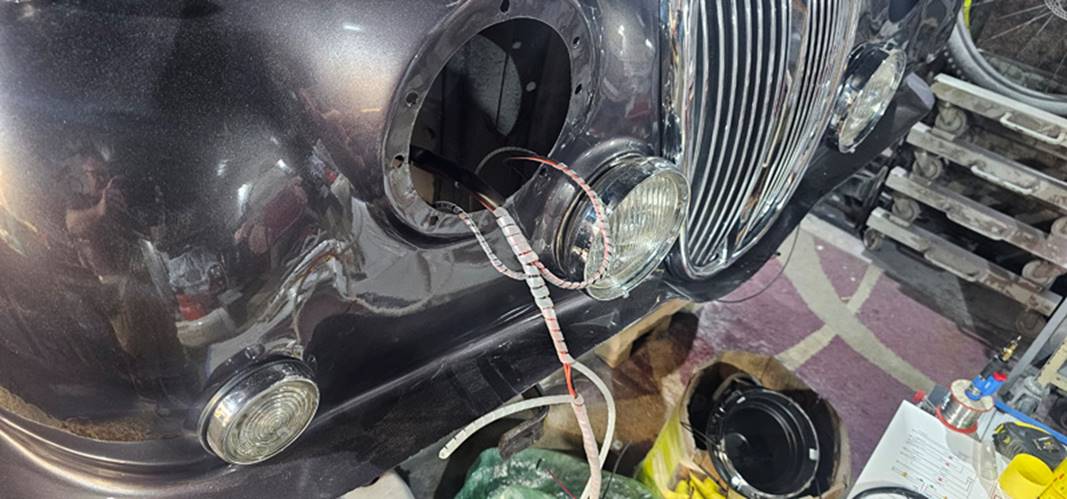
I used
reproduction plastic headlamp bowls due to cost and practicality. They’re an
exact fit.
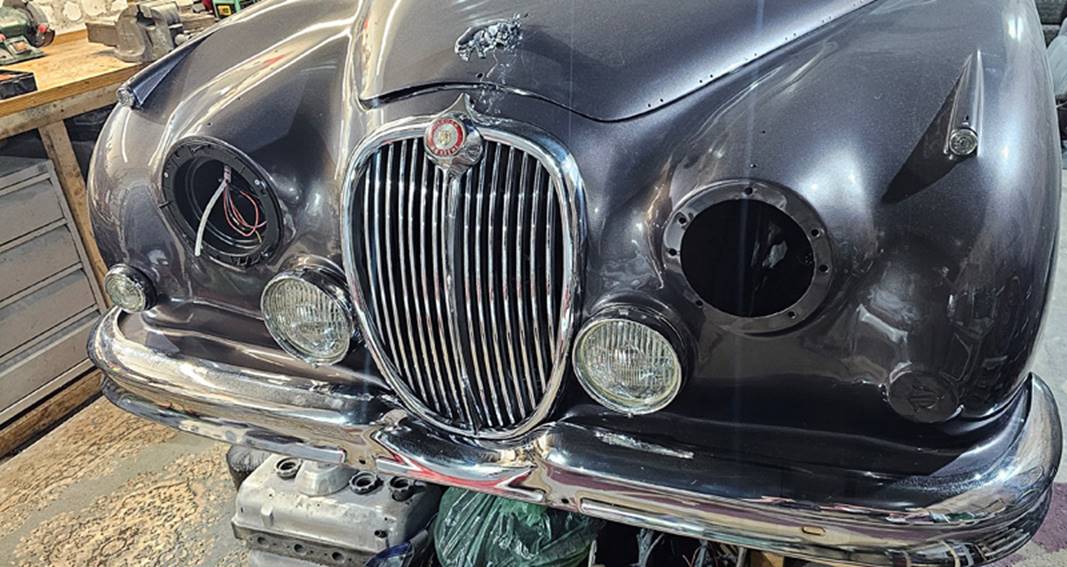
What wasn’t
an exact fit however, were the ‘spears’ which sit on top of the wings. I bought these from a reputable supplier but
the fit was awful.
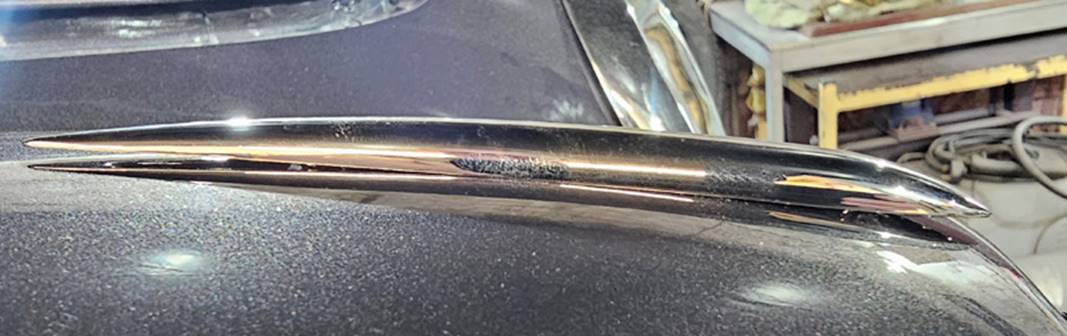
Both ends
were raised way above the body. I briefly considered trying to bend them, but
if they’d snapped, then it would have been a waste of my money as I wouldn’t be
able to return them. So instead I contacted the supplier who replaced them with
a pair from a different manufacturer. These were a good fit, far better than
the previous pair, if not perfect. This pretty much completed the chromework on the front.
I’ve intentionally left the headlight rings off as they are a snap
fit. I don’t want to have to praise them
off again when the headlights need alignment and risk any damage.
The side
trims are held on with a button which is simply pop-riveted in place. All of the originals had perished so I bought
a complete set of fixing. They were easy enough to fit and the trim pieces
simply clip over them.
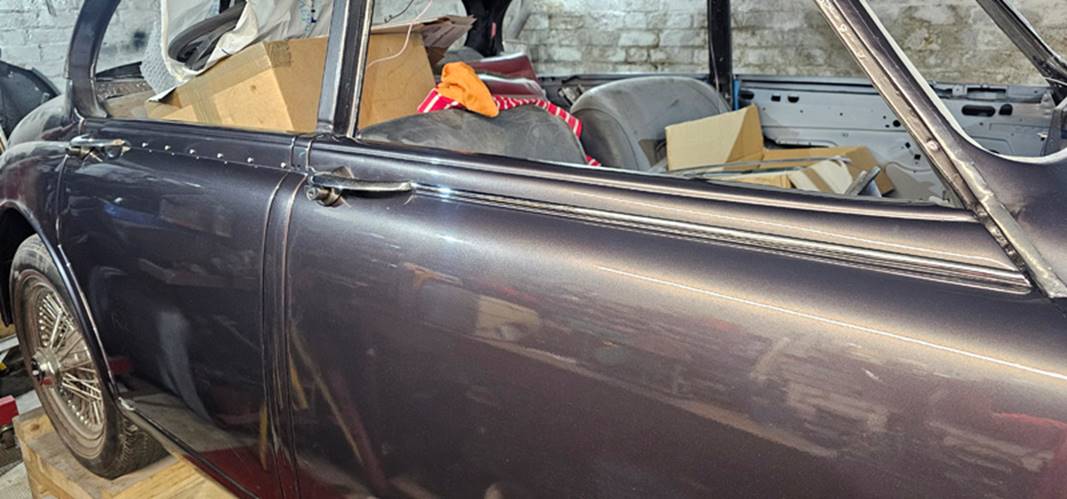
I still don’t have a good set of gutter trims or the scuttle panel trims, so
that’s all the trim I can do for now.
Next, the rear lights. These
clusters are made from an unusual white metal which can’t be re-chromed. A new pair will set you back over £650 and
even good second-hand ones on ebay are not
cheap. So I thought I’d have a go at
powder coating them.
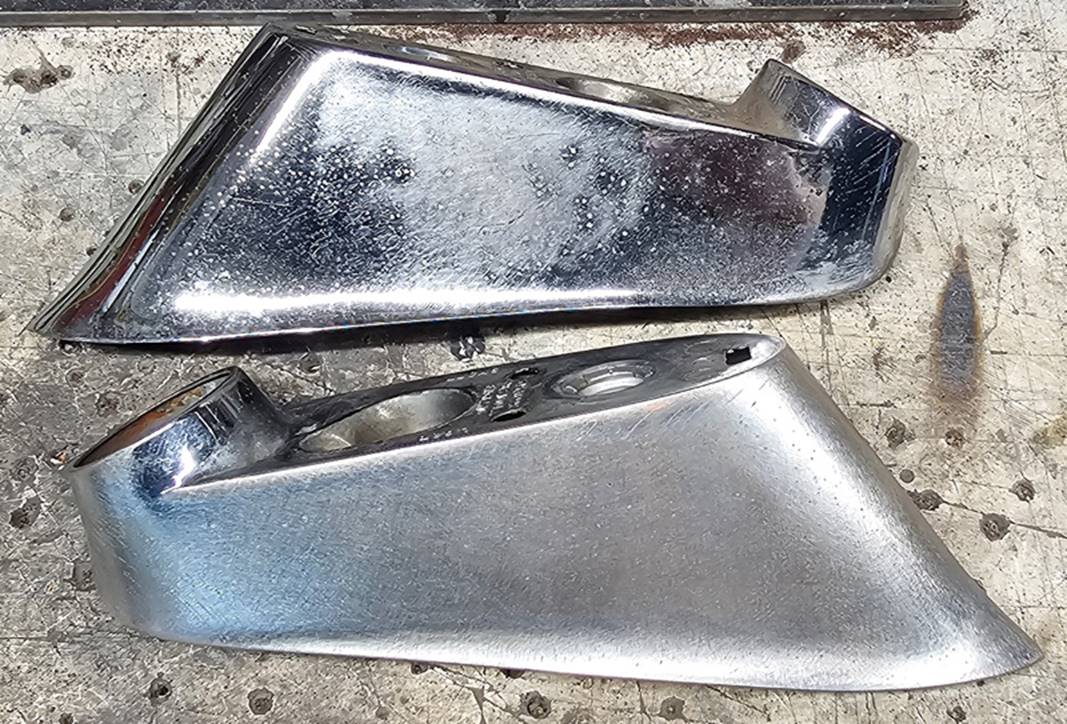
They’ve been
sanded down and prepared for this (only one above has), but you will have to
wait until the next update to see how I get on with that.
One thing that has worried me since the respray is the fact that the
catch-straps have not been fitted, meaning the doors can open further than
normal, causing damage to the paint. I
cleaned them up and painted them in body colour.
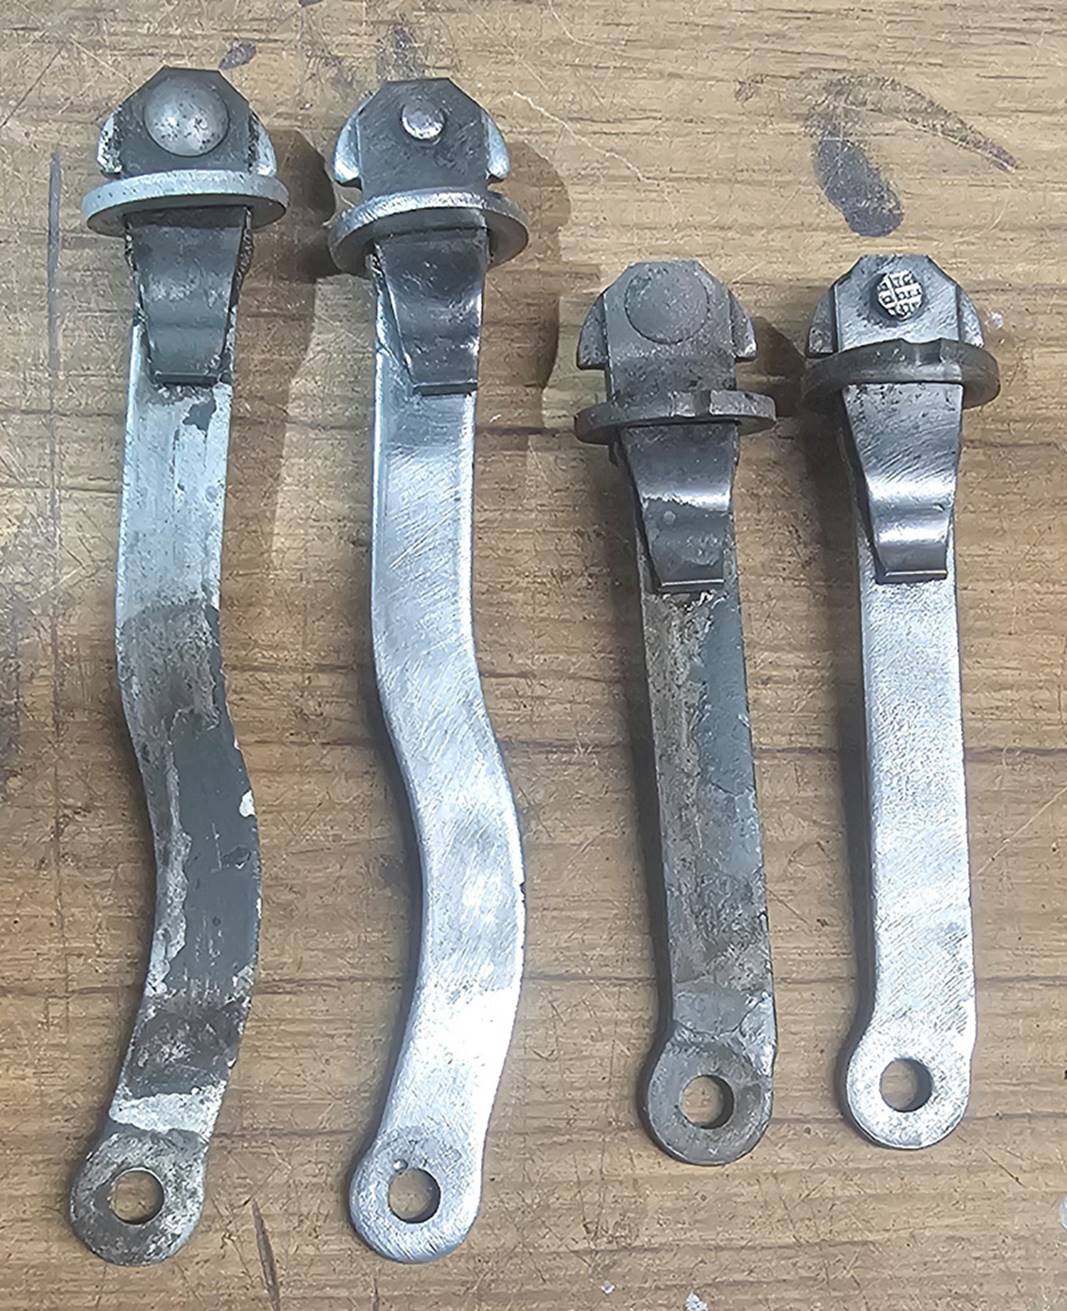
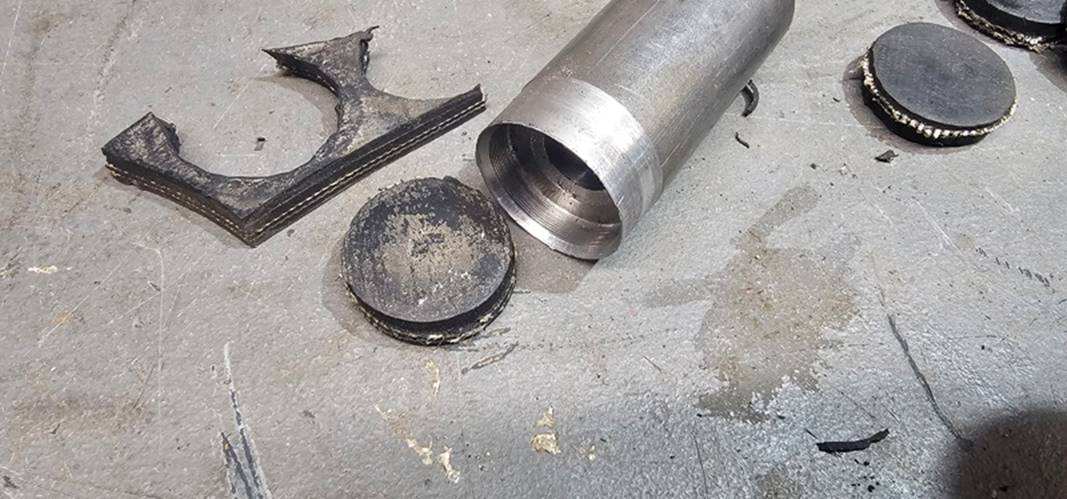
The old ones had a rubbery bung to soften the end stop. Mine had all perished. I had some rubber left over from the exhaust
hangers, so I used this instead. I made
a punch on the lathe the make the circles required. It didn’t work perfectly, but with some fettling
they fitted in the end.

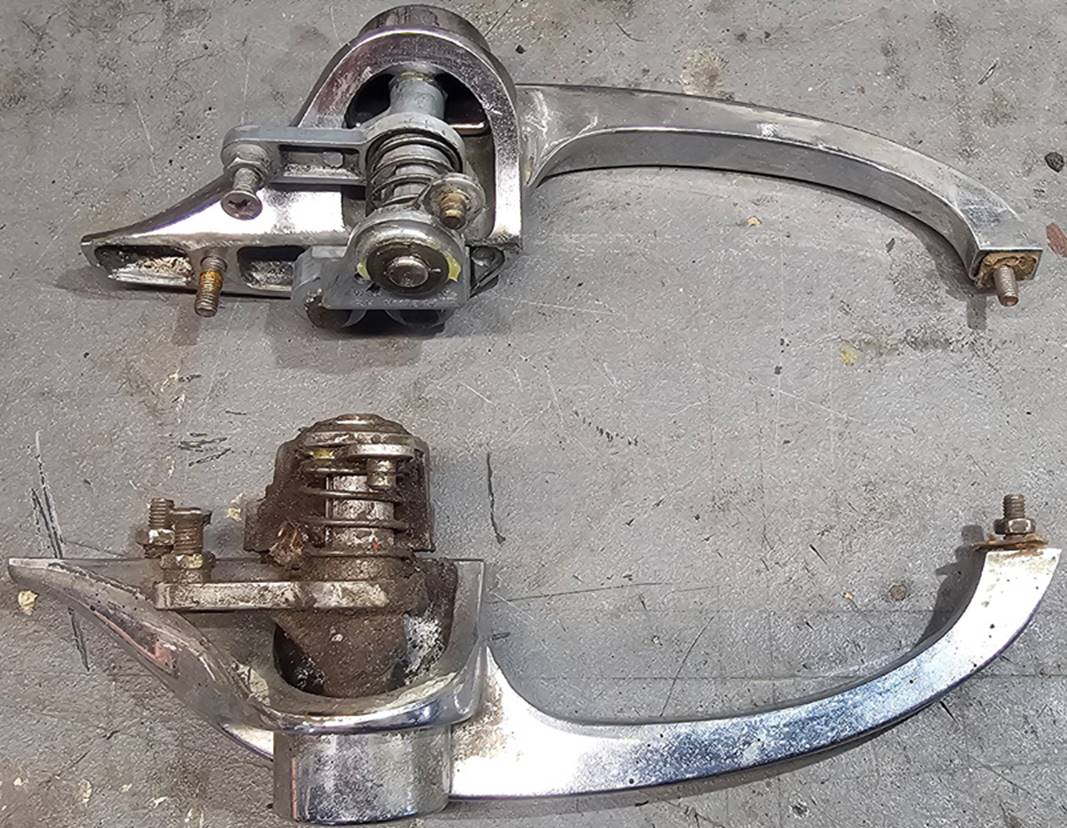
I’d worried about the locks on the car as it didn’t come with any keys. I’d looked at a complete new set of barrels
online, but never got around to buying them as I wasn’t sure of the
size/fitment etc. I removed the door
locks from the handles so I could measure them. I noticed that there was a
number stamped on them, and after a quick search online, I found that you
simply order new keys with the three digit number stamped on the barrel.
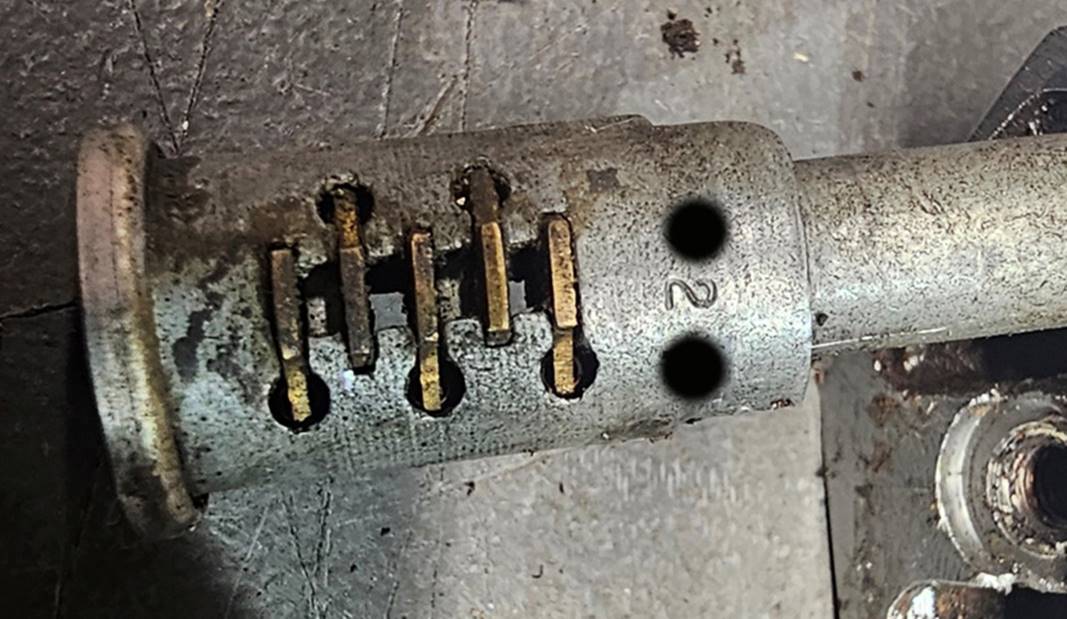
So after a quick clean-up and a tenner later, all of the doors now have working
locks, the boot too!