Painting
October
Update
OK, it isn't really an 'October' update, it's more of a six month update. Although things have been happening, (albeit
very slowly) on the car, I have had a load of distractions this summer. You may remember, I had intended to paint the
car during the warmer months but this unfortunately escaped me. But I am
painting it now. It had been sprayed in a few coats of epoxy primer a year or
more ago, so I just had to rough up the surface and paint yeah?

Well, no. I
had treated the rust in places where I didn't completely remove it with an
expensive product (I'll spare their blushes) and thought that would
suffice. However, upon closer inspection
I could see that the rust had returned.
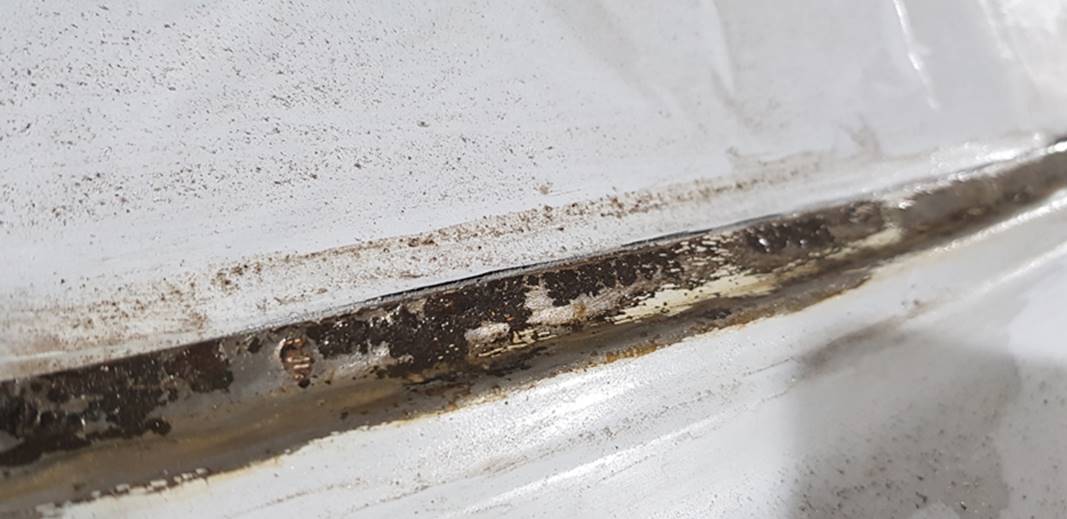
Only in a few places, the worst was around the rear window aperture. I
didn't take any before pictures unfortunately (I was so disappointed!), but
here is the so-called ‘treated' rust after I'd taken off the epoxy primer.
I used my
mini die-grinder to remove all of the crud to get everything back to shiny
metal. I guess I should have done this
before, but I naively perhaps, bought a rust treatment to do this job. Next time I will know better.

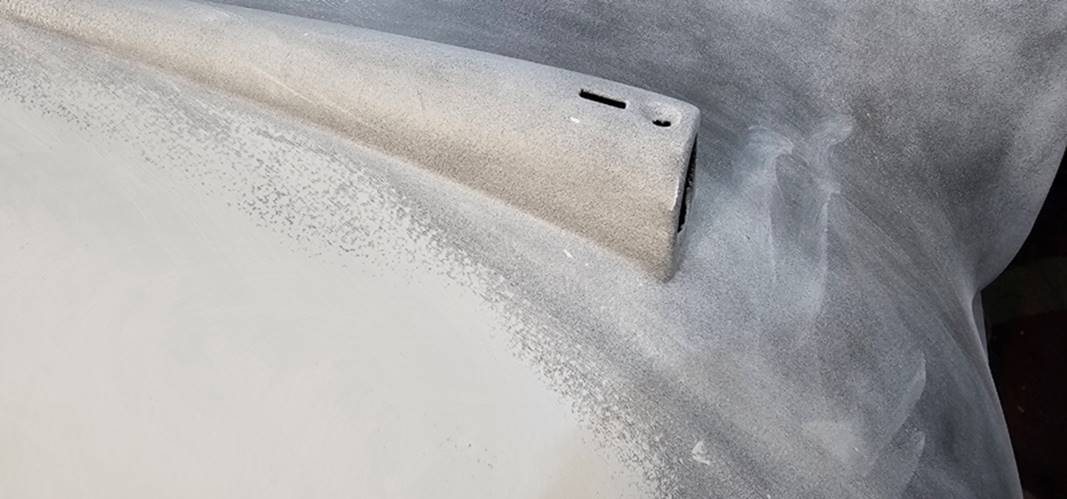
So, here it
is all done and ready for primer too.
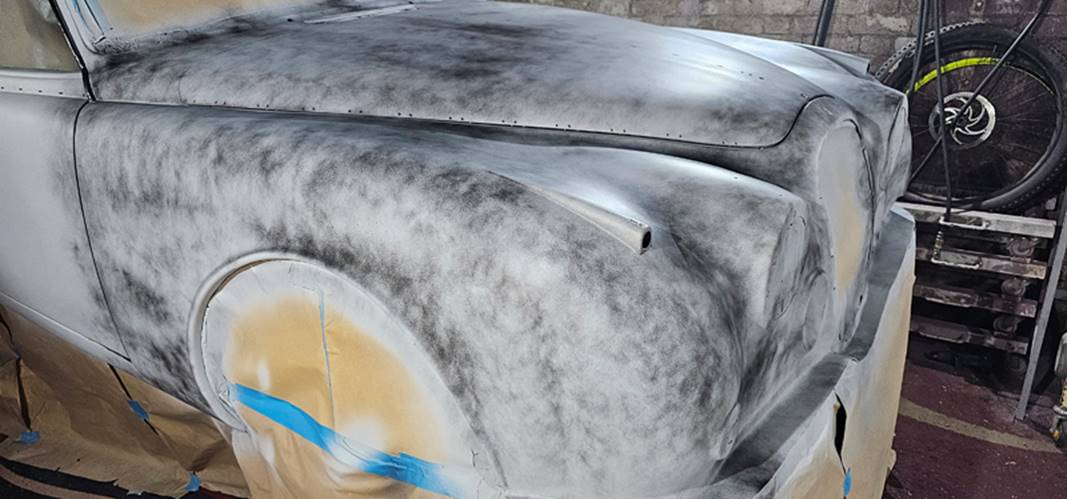
So, all the rework
done, next it's finish the scuff of the epoxy primer and get the high-build
primer on. I have a SataJet
spray gun with a 1.3 nozzle, but this stuff is so thick, it needs a 1.8 at
least. I bought a cheap & cheerful
gun from Amazon and to be fair, it did a good job for its modest cost. It does
what it says on the tin, and it really does build thick'n'fast.
It does give
a somewhat textured finish, but 90% of it's coming
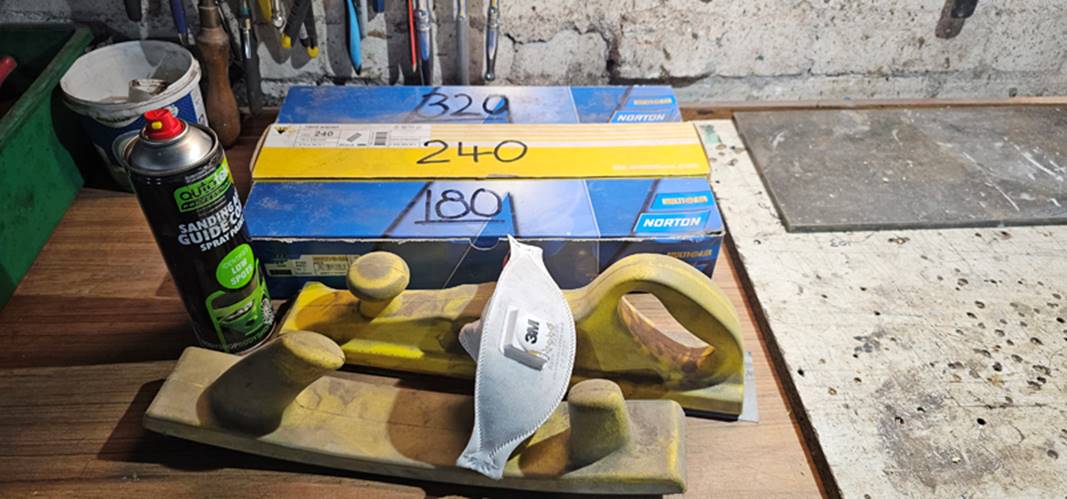
back off anyway, so it's no problem. A quick dusting with guide coat, and it's down
to block sanding time. I used 180 to 240 and finally 320. It was quite satisfying to start, but the
novelty soon wore off. It's tiresome and relentless work. Easy to see why bodyshops charge so much.
Then it was on to the wet'n'dry sanding. I did
600 then 1000 grits.
I'm not an
experienced sprayer, and reading online I found that it's difficult to match
metallic paintwork if you remove the doors/bonnet/boot and spray
separately. So, I did the door jambs and
frames first, so I can then spray the complete car in one go with everything
fitted. The jambs went very well and after 3 coats of base and a couple of
clearcoat, I was pleased with the result.

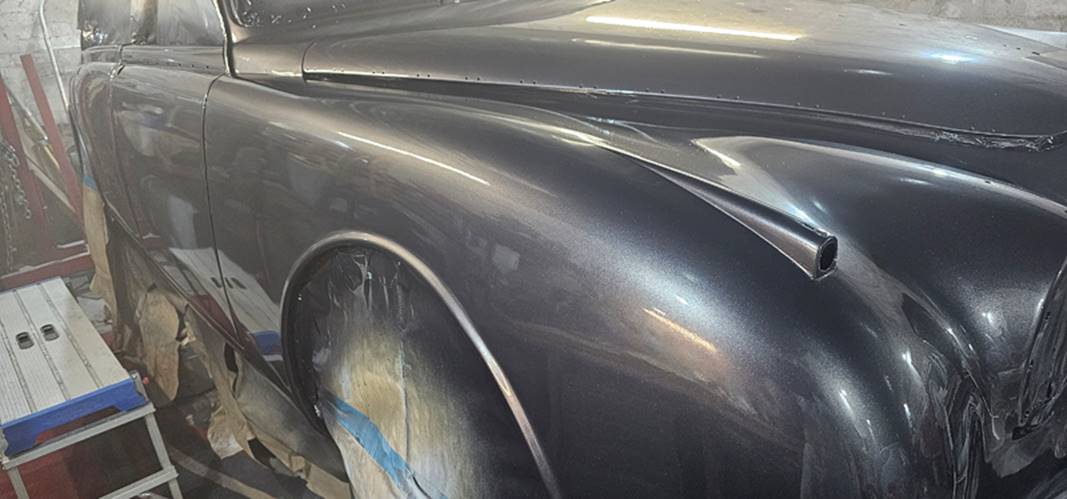
The
doors/bonnet/boot were refitted and readied for spraying with a final wipe over
with panel-wipe (degreaser) and a tack-rag to pick up any dust. I started spraying and things looked
good. The first coat went on well, and
my confidence grew. The car looked good in its new colour.

I sat and started the 20 min wait for the
first coat to flash over (to dry enough for the next coat basically),
then...........
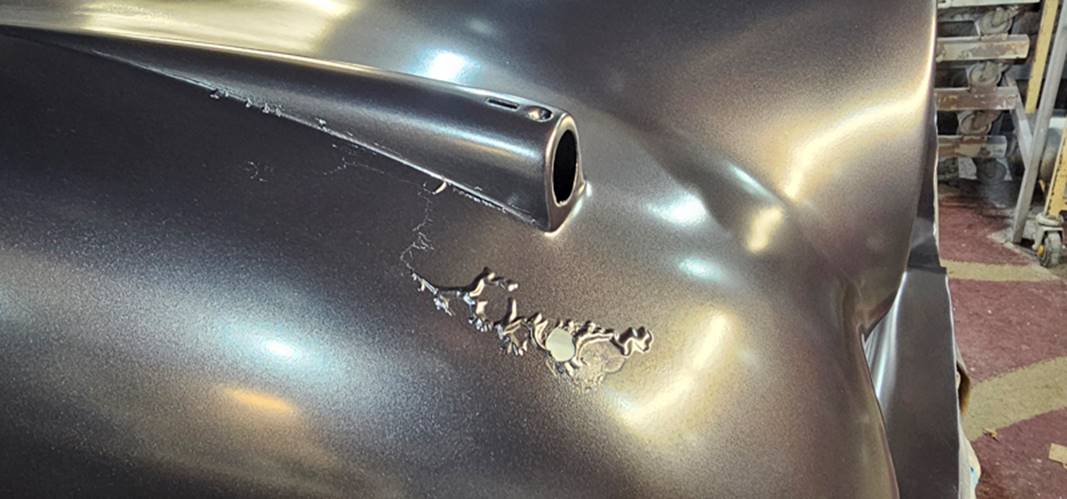
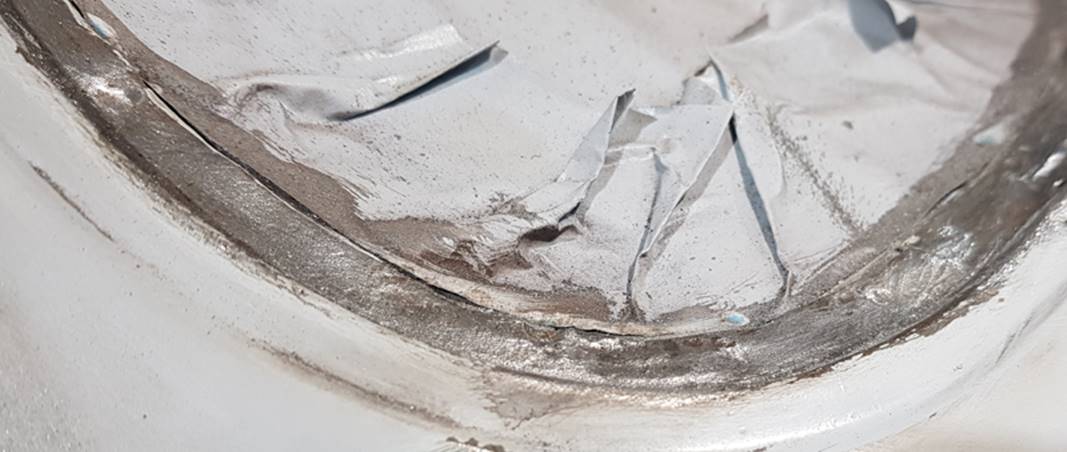
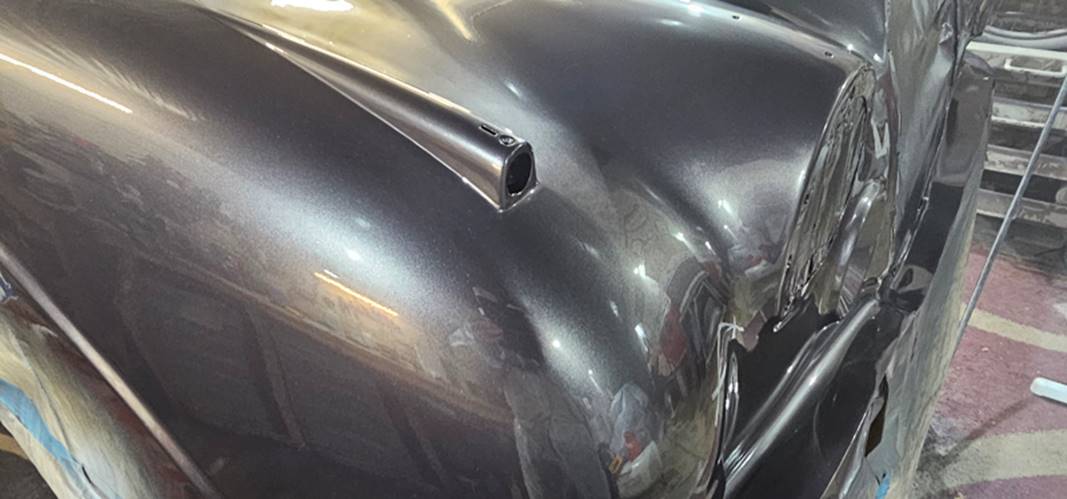
WHOA! What's
happening here? Somethings clearly gone
wrong. A reaction with something I guess. Shame, as the rest looked so good. I
was downhearted to say the least. I felt
like I was taking two steps backwards, then one step back! I walked away and left it for a week.
So, after
facing up to the reality of the situation, I sanded back the mess and
re-prepped it, and got things ready for attempt number two. I gave the existing paint another wet sand to
ensure there was a good surface for the new paint to adhere to.

I sat and
waited for the peeling to start again…….but it didn’t. Phew!
Another coat,
a bit thicker this time, and again the wait. Nothing. Bingo, I was clearly on a roll. All looked good. Another coat. Again, all
good.
Next was a
‘drop-coat’. This is a lighter coat,
sprayed at a greater distance so that the paint falls more evenly, but more
importantly that the metallic content has time to lay itself in the same
direction. This ‘drop-coat’ is only required on metallic paintwork, and I’m so
glad that I did a lot of research as I may have missed this important step
off. I’d watched a load of YouTube info-torials but only with flat paint. Anyhow, it did look far more even after this
coat, if a little dry looking.
Happy with
the coverage of the base colour, it was time for the clearcoat. This can be more prone to runs, so the first application
was little more than a thin dusting to give subsequent coats something to
adhere to. If
it were too thick and shiny, the next coat can slip-off the surface and cause
runs.
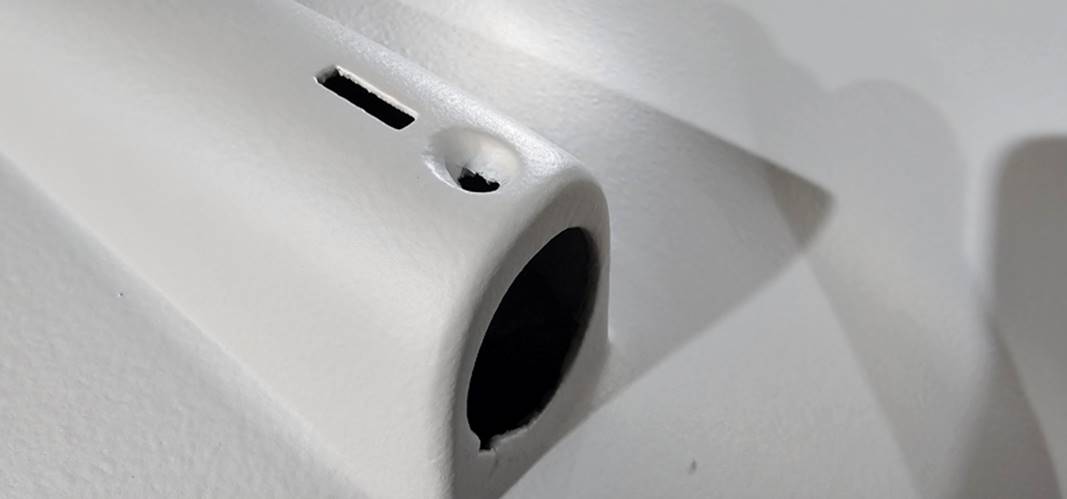
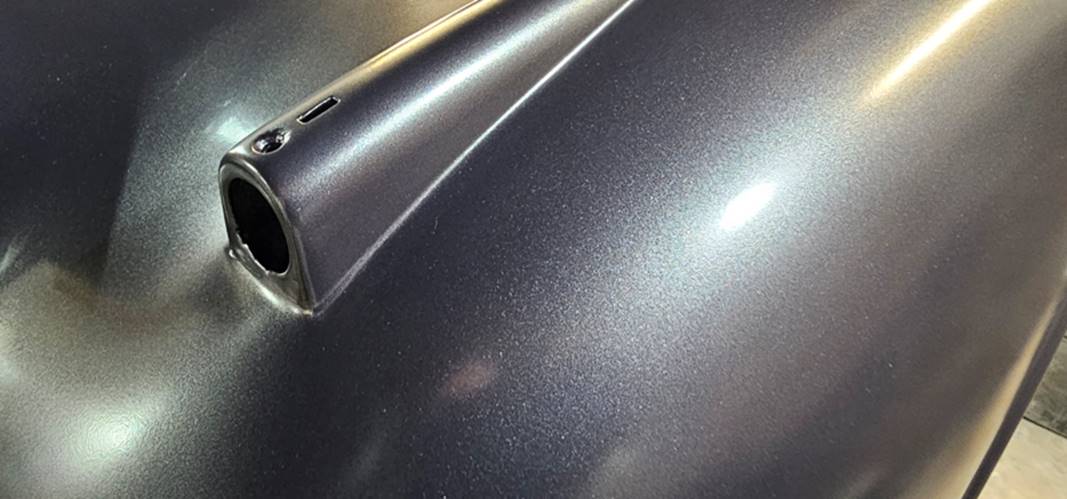
So, finally
it was complete –


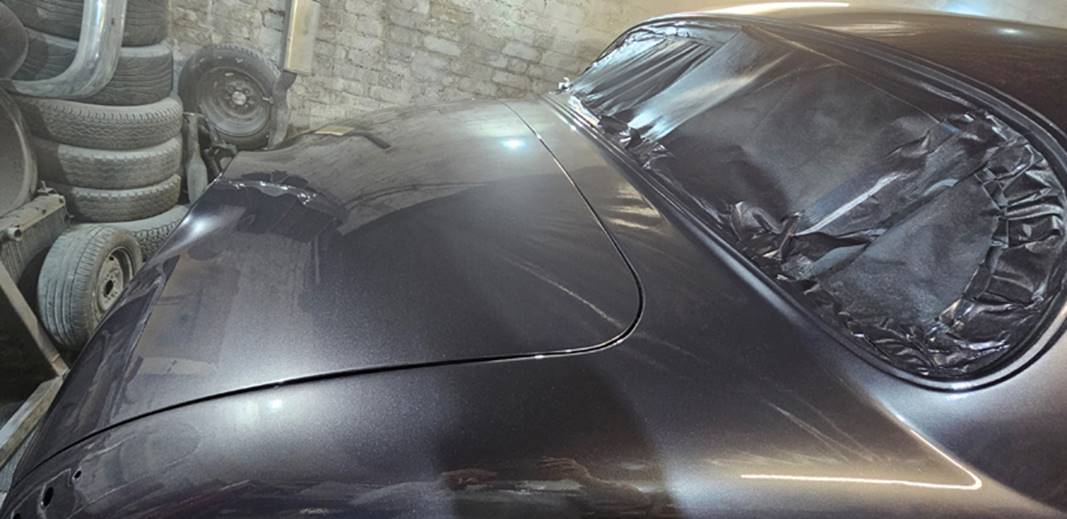

A major
milestone finally reached. I am
extremely pleased with the results. It’s
not 100% perfect, but considering that it was my first attempt at spraying a
car and that it was done in a home garage, I think that it looks rather
good. So, I will leave it for a week or
two for the paint to harden a little more, then I will start to fit all of the
body furniture. Lights, grille, bumpers,
chrome trims etc.